
Are food scraps an issue in your garden bed? This can look like too many tomatoes overripening all at once. Or maybe some rabbits or birds took a nibble, making your produce inedible.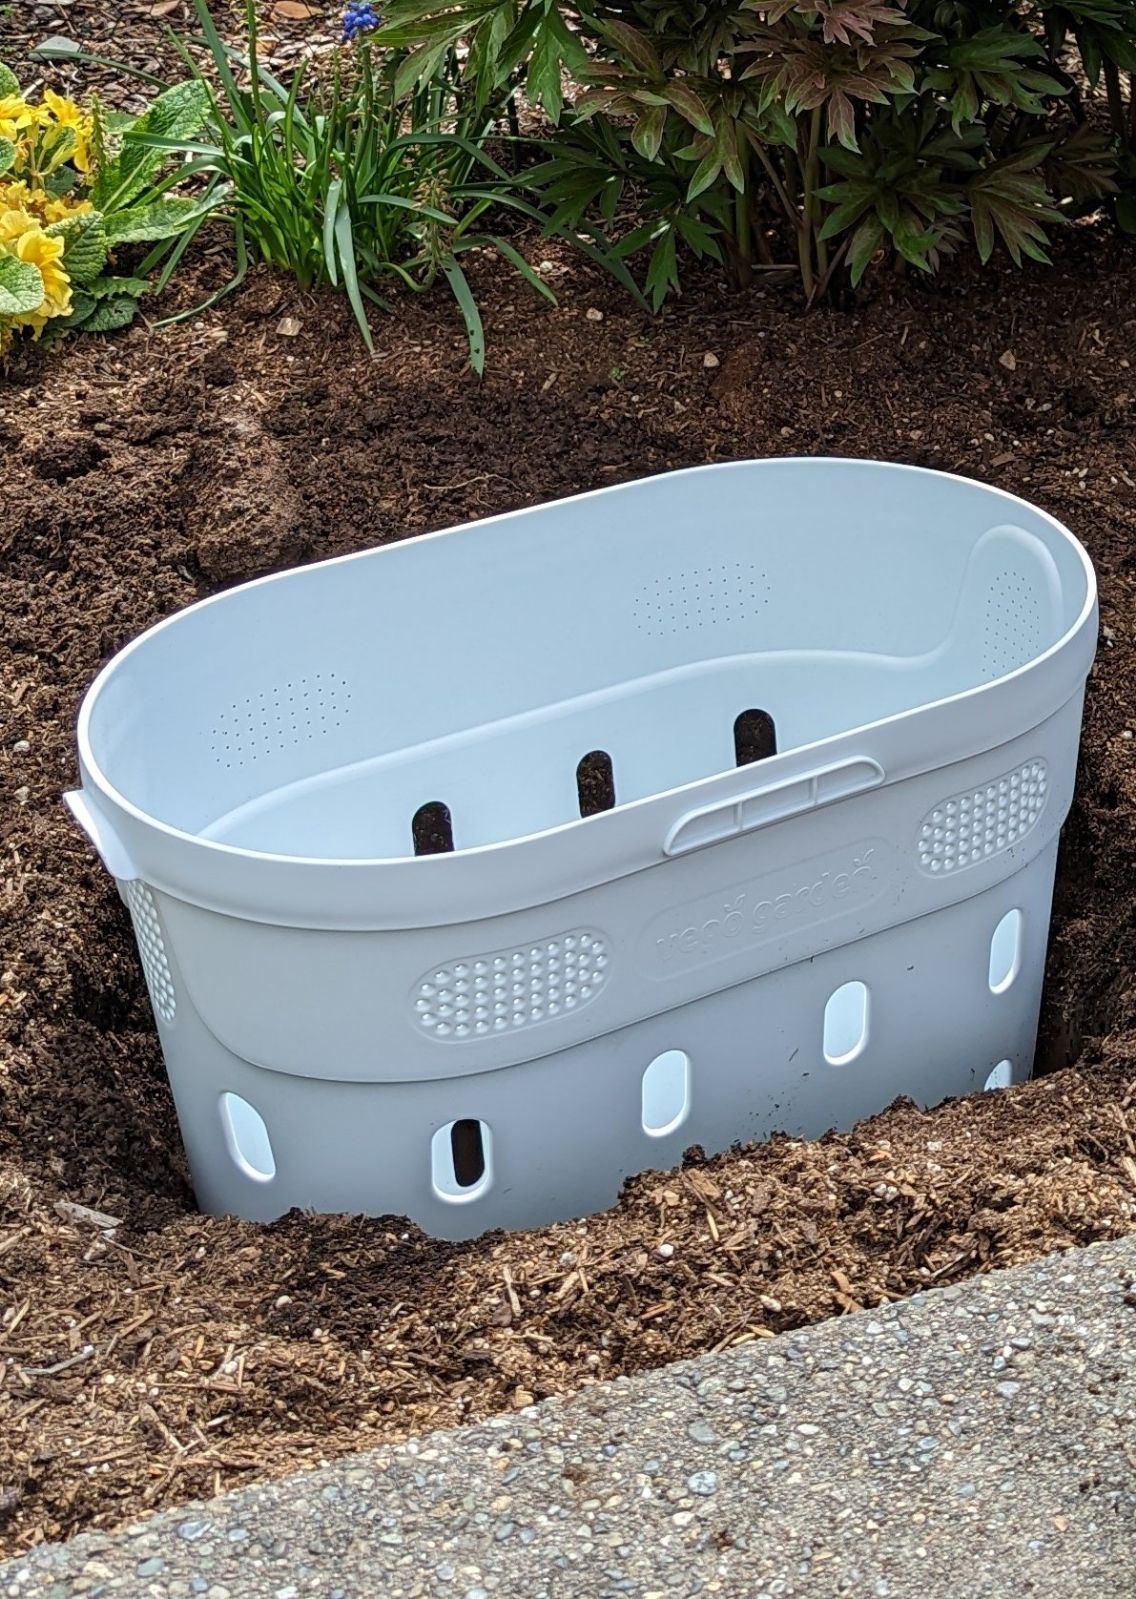
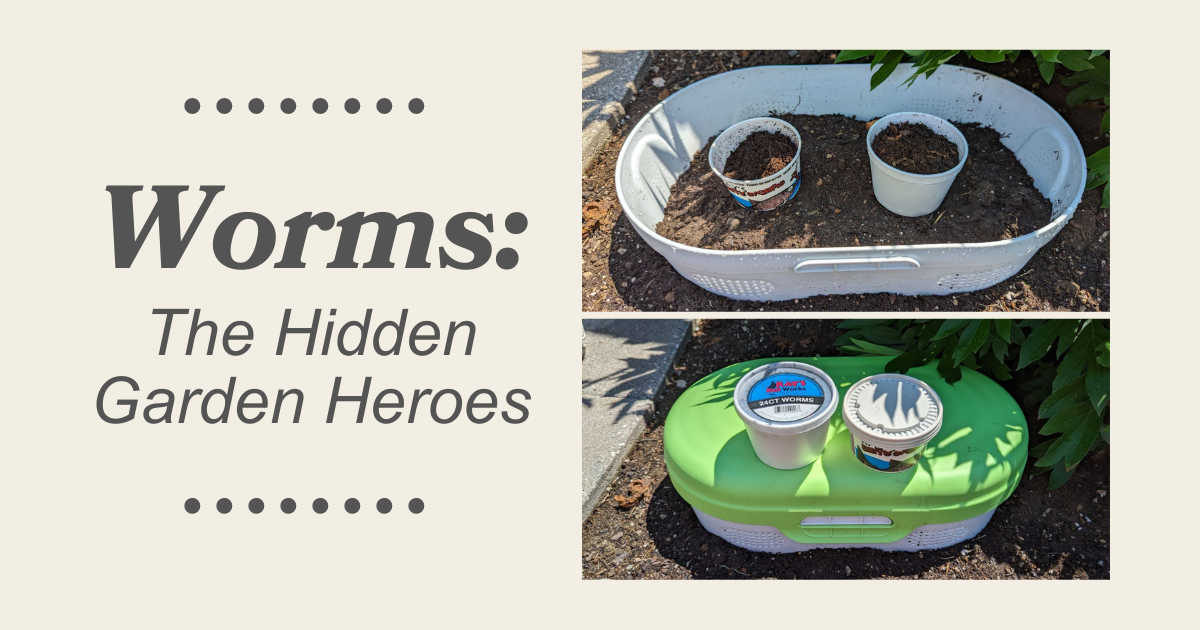
I found one of the best ways to discard these scraps of produce is by feeding them to my worms! I used to just bury the scraps in the corner and let them get to work. Last Christmas, I received a worm tower and was eager to set it up in my garden plot this spring. Mine is from VegoGarden.com, but once I started researching worm towers, I was thrilled to see how easy they are to make yourself!
Worm towers, also known as in-ground worm feeders or vermicomposting towers, are simple structures that you place in your garden bed. They act as feeding stations for worms, encouraging them to live and work in the surrounding soil. These towers are typically made of PVC or recycled plastic pipes, with holes or tiny openings along the sides to let the worms come and go easily. They’re extremely low cost to get started, exceptionally simple to make, and nearly effortless to maintain.
Creating a worm tower is a simple process. Follow these steps to get started:
- Find a suitable spot in your garden bed, preferably near plants that need extra nutrients. The castings from the worms are extremely beneficial to your plants.
- Dig a hole in the ground deep enough where the top few inches of your bucket or pipe will be sticking out of the ground.
- Cut a piece of PVC pipe or use a plastic container, like a utility bucket from Home Depot or Lowes.
- Drill small holes or openings in the sides of the pipe or container, so the earthworms can go in and out freely. I like to make the whole about an inch or so wide, and plenty of them.
- Put the pipe or container vertically into the hole, making sure a few inches stick out above the ground. You will want some holes near the top sticking out of the ground to help with odor control.
- Fill the hole back up with soil, packing it firmly around the pipe or container.
- Be sure to place a lid on the worm tower. If you went with the bucket route, Home Depot or Lowes will sell lids that fit their buckets. If you used a PVC pipe, a terracotta pot will fit nicely over the pipe and is heavy enough that other critters will not remove it. The lid will protect the worms from sunlight and predators.
Let the feeding begin!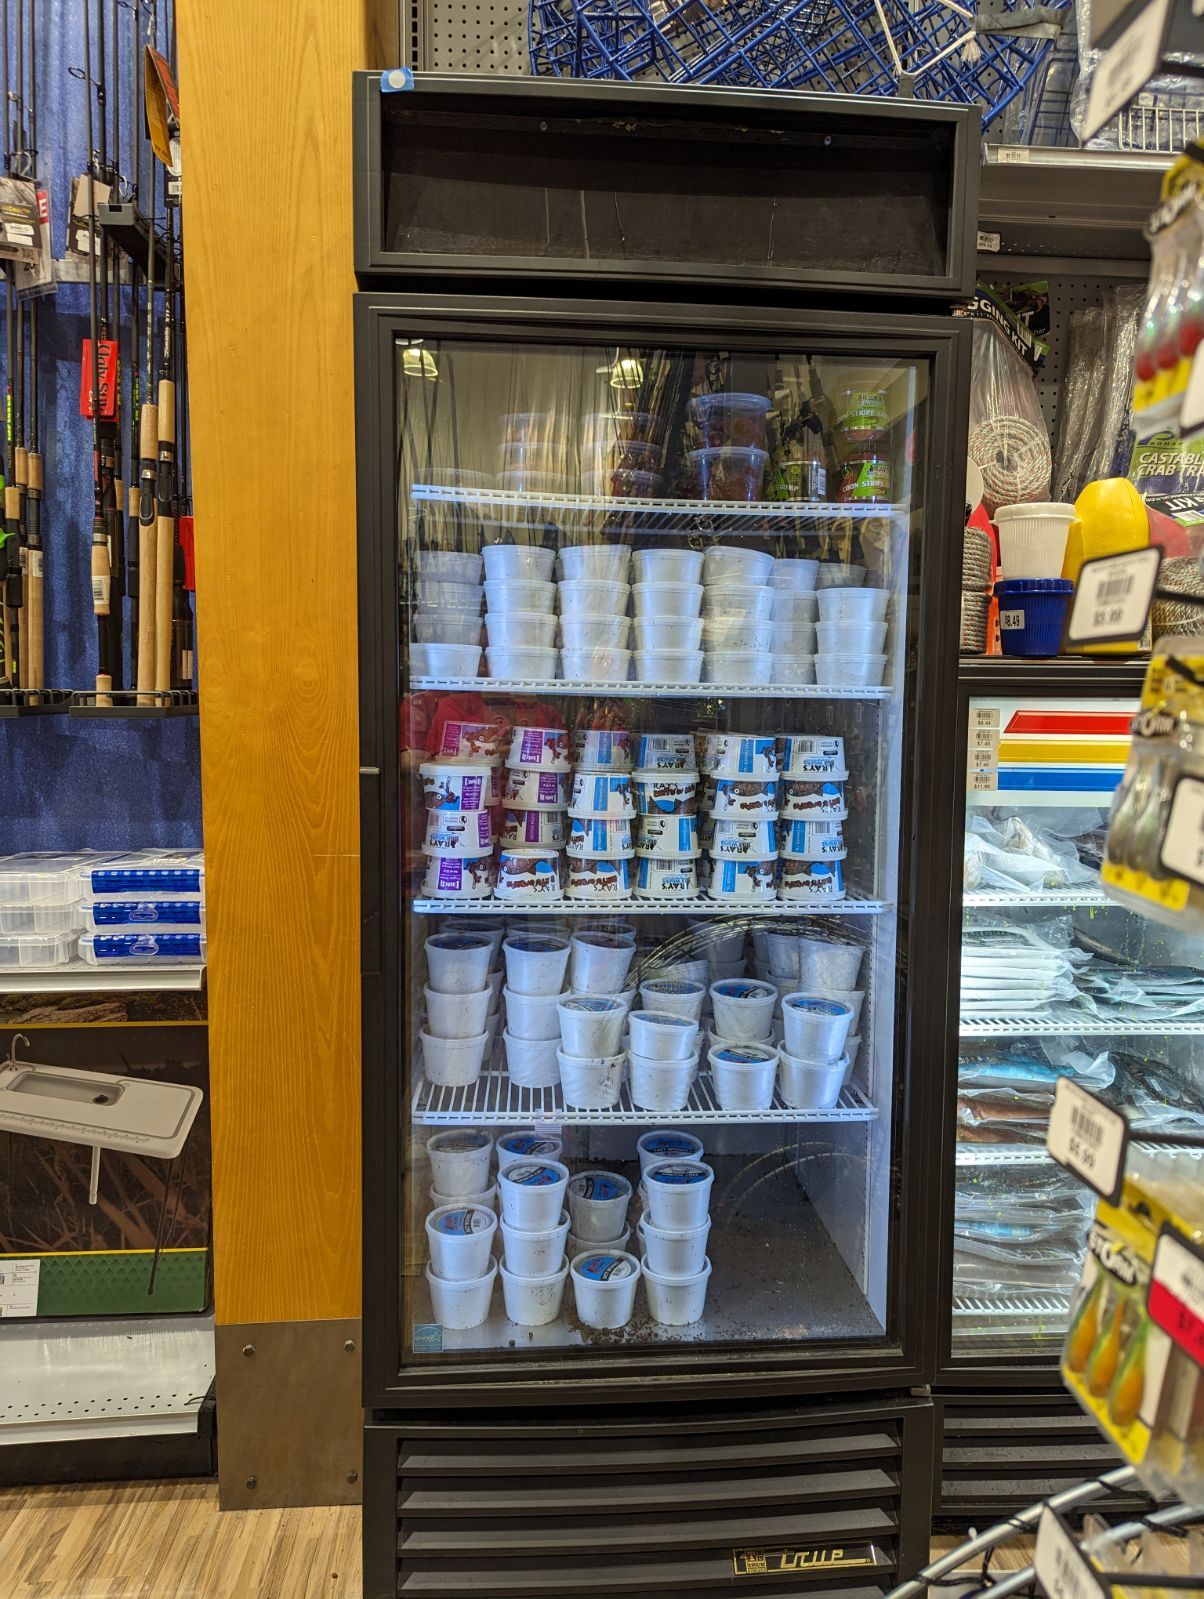
Once your worm tower is in place, you will want to add organic materials for food. I initially added soil, food scraps from the kitchen, and paper materials. Be sure to break it up and mix it well, so the worms can consume and move around easily.
Afterwards, I went to DICK’S Sporting Goods and bought some nightcrawlers and red wigglers. I thought giving them a chance to not be fish bait would be an awesome alternative to their original fate. I placed them on the top of the worm tower and closed the lid to give it a good jump start.
The next time you are done eating some fresh produce from your garden, throw the remnants in your worm tower. It doesn’t get much easier than that!
Worm towers can be extremely beneficial to a garden bed. Your plants will love the castings from the worms as they travel around. Plus, it’s low maintenance and can help you create your own compost. By adding a worm tower or two, you will witness the incredible impact of worms and their ability to create a thriving ecosystem right beneath your feet.
Ben Armlin is a Huckleberry Circle resident and Sunset Walk garden ambassador.